

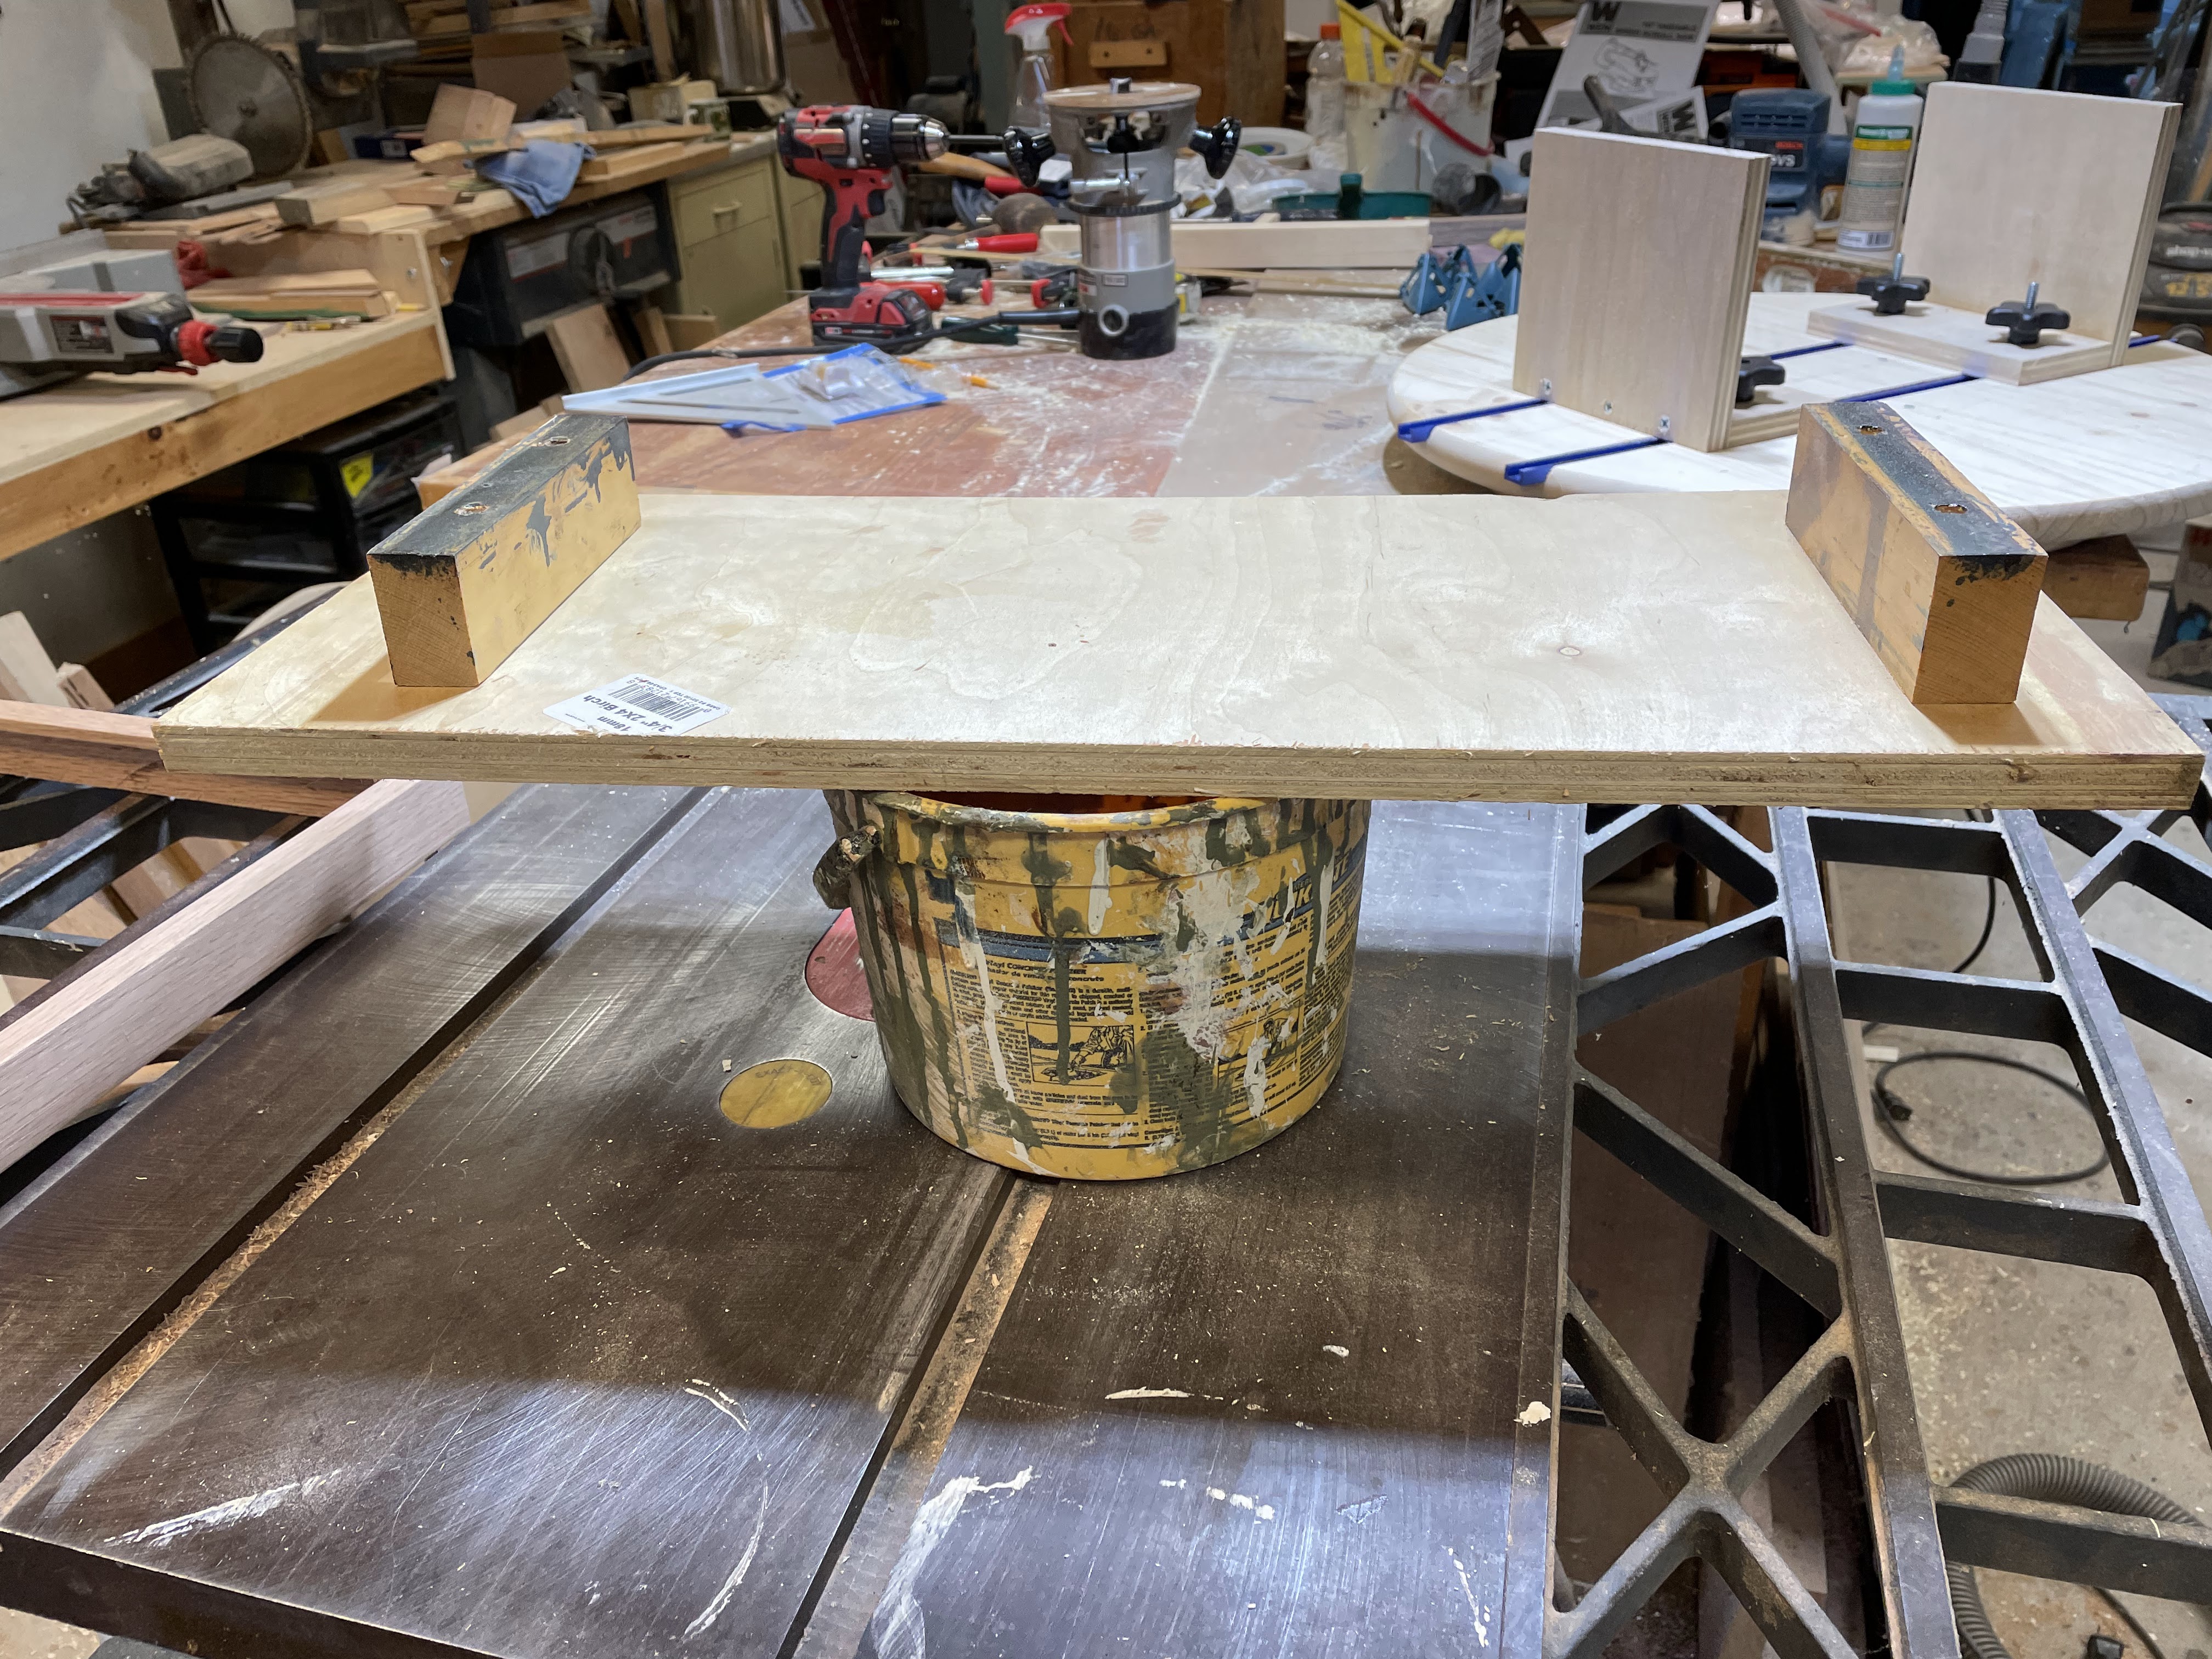
Since I starting making my own frames, I always struggled with how to apply stain and final finish without a need to handle the frame. The best I could come up with was a couple blocks of wood screwed to a piece of plywood or other pine stock set on a plastic tub of some sort. This (you can click on the pics for larger versions):
In a recent internet conversation centered around one of my framing-centric blog posts, a friend suggested a turn table. Well, actually, he suggested a Lazy Susan, but I worry, dear readers, about pushback concerning sexist language, so we'll stick with turntable.
My lovely partner Bridget got wind of that conversation, and, ever on the search for meaningful Christmas presents, she went looking for components to build a turn table at our local orange big box store. Christmas morning I opened a box that had a 24" and a 16" diameter pine "plates", a turn table, and a batch of screws. That assortment of goodies would solve some of my problems (relating to framing, that is), but not all of them. I'd still need the same bucket and board set-up I'd been using...it would just be easier to rotate, sitting up there on the turntable.
Enter the T-slot system, which would allow me to move one set of "uprights" to fit any of the size frames I usually build. I've always wanted to build something with them. Do remember that I am not a production shop...most all of my frames are "one offs" built to handle different art and flies most every time. So I purchased a set of 24" T-slot "rails" and a set of t-bolts and knobs. Lots of places to buy those online; I used Rockler.
The pieces of the puzzle:
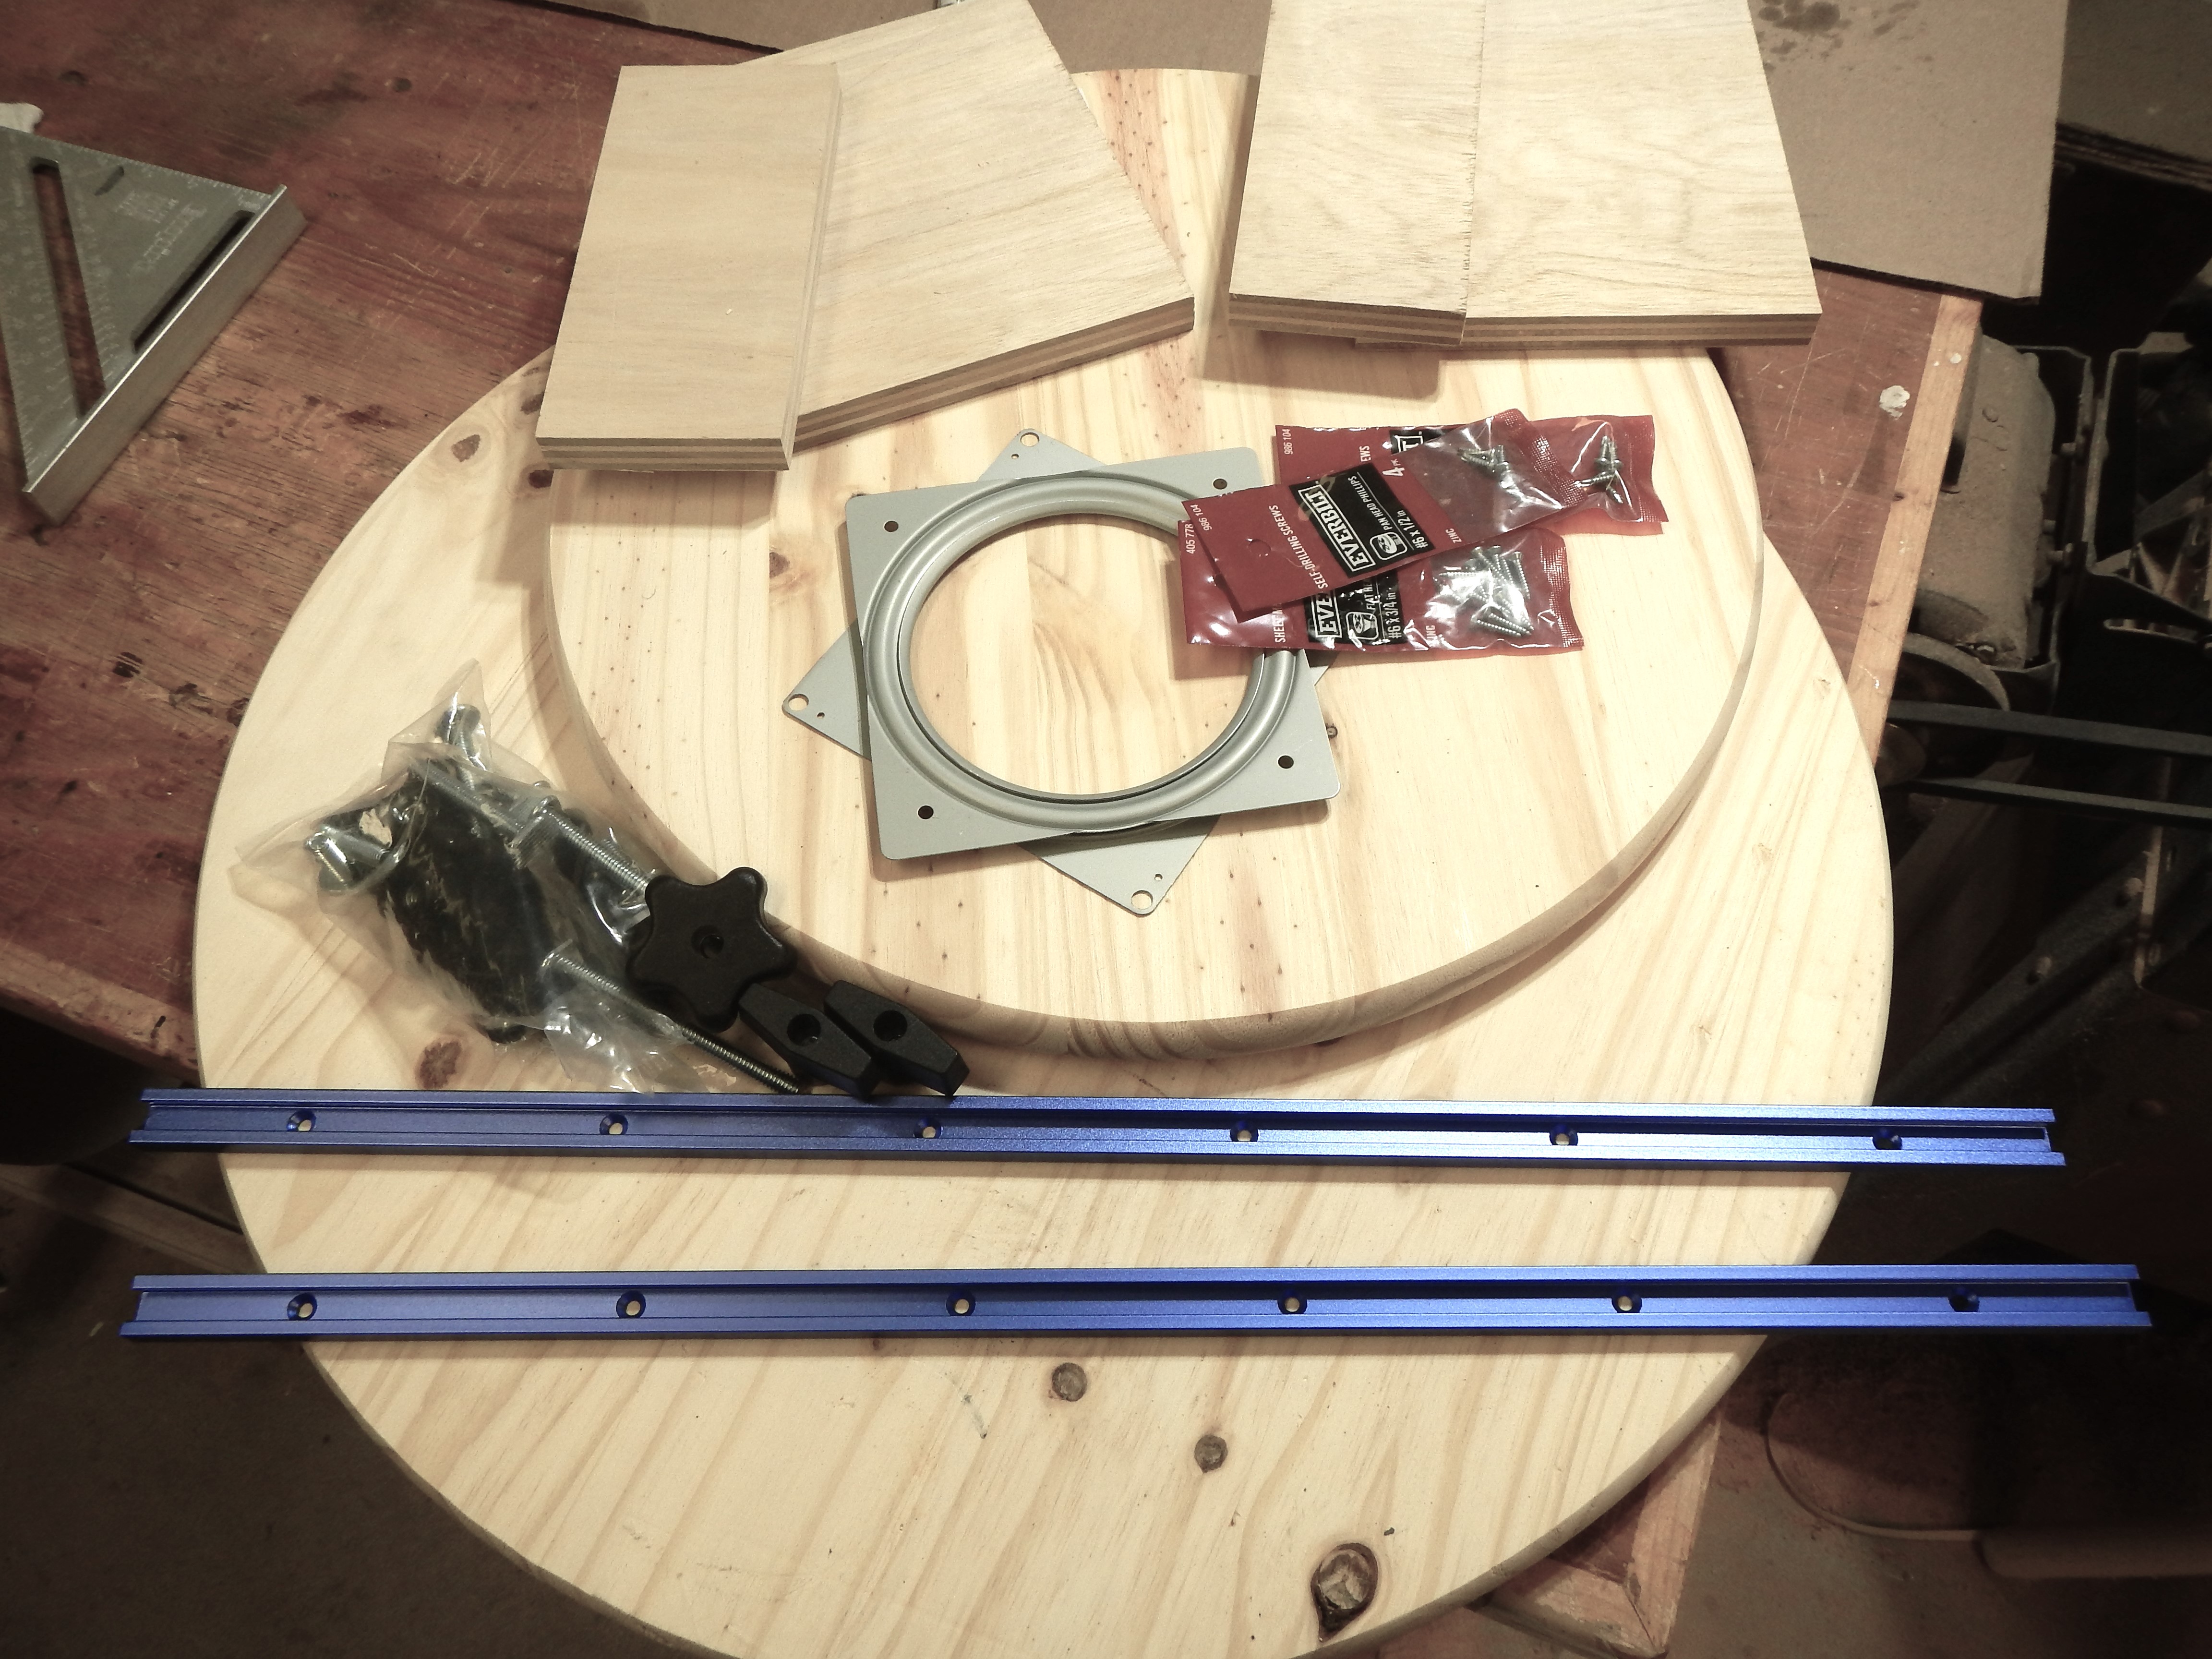
A key ingredient in building this turn table, that may take it out of the equation for some erstwhile builders, is a router. It is needed to cut the 3/4" dadoes that the rails sit in so they are flush with the top of the 24" plate. I suppose one could just screw the rails down on top of the plate, but where's the fun in that? Who doesn't love cleaning up a huge pile of pine sawdust thrown all over the shop by a cutter whirling at 15,000 rpm's??
I assembled the rails with temporary pieces of plywood, drilled with identically spaced holes to accept the t-bolts, tied them down with the knobs, set them down on the 24" plate, and traced the outlines of the rails on it. I did this to ensure that the rails were as parallel as possible so that the uprights (yet to be displayed) would slide easily on the rails.

There are some pretty picky instructions concerning mounting the smaller bottom plate to the top plate with the turntable. Suffice it to say, if I can do it, anyone can. Here's the bottom's up view:

I made the L-shaped uprights seven inches tall. It puts the frame at a comfortable working height when placed on my 36" tall assembly table, and that space keeps any blowback from finishing spray hitting the mounting plate down to a dull roar.

I have a batch of these little "painters points" (don't know what they're really called), which allow me, if I need for some small object or another, to place a board over the uprights and, again, twirl it around without raising a fuss of dust...or fingerprints.

Best of all, I can have a bonfire with all these different frame holders that I needed before I built my new Lazy Susan turn table!

Cheers!
Gary
No comments:
Post a Comment