

I mean, wouldn't you get a little something new going if that stared at you all day?? So I decided to head to my shop, and make something new. The blog post I did on building a rod rack is the most viewed post of the 70-something posts I've done, so I thought I'd continue on along those lines. I decided to design and build a wall-mounted display case that a person could use to display a reel collection, or old shotgun shell boxes or flies or whatever. So I drew up a plan.

I decided to try and make it out of lumber that I had laying around the shop and out in the garage. Here's the obligatory pile o' wood shot (A fairly clean shop, too! And it got Tucker off the couch!):

I decided to make the two drawers first, for no particular reason. As usual, the lumber I had lying around wasn't wide enough for the project, so I had to glue up some wider pieces. At this point, I was thinking of a stained cabinet, so matching grains on boards was important.

I find it necessary to label pieces to be joined together so all my time matching boards up isn't wasted when I start putting pieces here and there and shuffling things out of my way.

It's important to run the edges to be matched up through the joiner to get a tight joint.

I like to use a plate (or bisquit) joiner to add strength to the joint, as well as an aid to indexing or matching the grain.

I glue up the shorter boards in gangs with lots o' clamps to keep things from buckling and causing uneven glue-ups.

After drying overnite, I ran the 3/4" boards through my planer to bring them down to the 1/2" or 5/8" thickness I need for different pieces. This is the messiest process, in terms of the amount of wood shavings produced, of the whole project.

Right out of the planer, I give everybody an initial sanding with 120 grit paper.

I decided to use dovetail joints for the front of the drawers, and a locking joint for the back joint. So out comes the dovetail jig.

And then out come the clamps.


Pretty close joint for a guy that hasn't used the jig in a year or 3.

Now its time to start thinking about the "carcass"; the sides and shelves of the cabinet.

Someday all of this will become a cabinet!

I'm not always (ok, really? how about never?) the best at visualizing how things are going to look and go together in my head, so I have to sort of play around with the sticks to see how things are going to work out.

Found a nice big piece of pine under a pile of other assorted stuff. It's about to become lots of little pieces!

And yet more grain matching! I find, when working with pine that, even though it might be easier to just buy wide enough stock for the job, the crummy quality stuff you can buy around here warps and twists to beat the band. Gluing up my own stock made from smaller width boards gets me around those issues...for the most part.

MORE plate joining, clamping and planning!


Time to start ripping pieces to final widths.

AND more sanding.

The extra effort spent matching grains pays off, I figure. Can you see the glue joint??

Time to make the face frame. Here it is, waiting to happen:

First I have to cut the stiles (the vertical component of a frame) and rails (you guessed it: the horizontal components) to length:

And cut the dadoes where the center stile and rail intersect on the radial arm saw:

Wonder if it'll fit?

I use a Kreg Pocket Screw system in place of mortise and tenon joints on projects like this. WAY faster and really very strong. Plus, they're fun!
Here's the set-up:


Pockets!

It's important to clamp the work, and keep a big square handy to make sure everything goes together in a manner that ensures there is no pouting when its time to attach the frame to the carcass!


Completed face frame.

And some pretty nice joints, if I do say so myself!


A brief break in the action; here's why I don't dye my fly tying materials in the kitchen:

Since at this juncture I was still figuring on staining the whole cabinet, I thought it important that the grain on the face frame at least complimented the grain on the cabinet's sides.

Now it's time to cut the dadoes (with yer handy stacked dado cutter installed in the table saw) for the backing, which will be a nice bead board. I'm also making room for the wall mounting system at this time (more on that later).

Now the dado cutter's installed in the radial arm saw to cut the dadoes for the shelves:

A carcass waiting to happen. Looks like it should make a nice easy kit to assemble, doesn't it. Not.

Always a good idea to "dry fit" the pieces before that very unreversable glue up!
I think its going to have nice proportions.


Time to cut the bevel on both the top and bottom pieces. Set the saw to 45 degrees.

That will cap the cabinet off nicely!

Couldn't resist setting a few pieces of the beadboard back up to see how that will look:

One thing we make a lot of around here is sawdust.

The drawers are going to have fronts added to them, with a simple, routed feature around the edges:

No getting around it...sooner or later I had to make the doors. They're going to have glass panels. I mean, it's a display cabinet, right? Some of this is fairly dangerous activity, especially as far as one's fingers are concerned. As a matter of fact, this is the last time I'll do the routing without using a "sled" and clamps for the pieces to be routed. I managed to get through this process one last time without injury...but I'm not tempting fate again.
Anyway, it takes two different cutters (rail and stile)

to make this joint:

to make this door:

Those cutters typically make a door that will have a panel in it that is a permanent part of the door. That doesn't quite get it for a door that will have glass for a panel, since, well, glass breaks. Especially around here. So yet another router bit comes into play to remove the stock that would otherwise "capture" the panel permanently ("pre" removal piece on left. On right, the piece has gone through the "remover"):

Glue-up time for the doors. Be sure to wipe up any excess glue...it's a bear to sand off later.


Ready for final sanding!

The shop gets a little messy. I'm really not good at cleaning up at the end of the day, I guess. And you should see how far through the house I can track sawdust and wood chips!

About this time during the project, my back decided to give me fits again, so the project kind of went on hold...and I went on drugs. Saws are pretty much a no-no on oxycodone, they tell me. Some friends asked me, while I was on this little hiatus, about building them a large cabinet for an addition they had added to their house. That got me surfing the internet looking at photos of a zillion different cabinets, and those that stood out to me had painted carcasses, with stained interiors. Hmmmmm.
Well, fast forward to fairly recently...the back is pretty much back in the groove (and I'm even hitting the gym again...world's most boring activity) so it was time to finish this project. I've always loved Hunter Green (just ask the designers that used to work for me at the fly fishing museum) so that color was an easy choice for the cabinet's exterior. But what stain for the interior?
Fortunately, some years ago I created my Bag O' Stains:

I've got quite an inventory of stains from many projects; it was a no brainer for me to stain up some pine and oak with the different stains to take with me on jobs...takes a lot of the guess work out of picking a stain for customers. True story: when I did the rod rack, I mentioned in the post that I used English Chestnut stain on pine. I can tell where people are coming from to end up on my blog. Seems that a lot of folks google "English chestnut on pine" and end up looking at my blog. Happens every week!
Anyway, since this cabinet is ostensibly intended as a way to display a collection of reels, I grabbed the couple I have (heh heh, yeah, a couple) to see if they would look better on any one stain. Ipswich Pine got the nod.


It's important to put a pre-stain conditioner on a wood like pine. It prevents the stain from looking blotchy.

Staining in progress:

I'm happy with the way the dove-tail and box joints turned out (the blue tape on the drawer bottoms was to keep stain and poly finish off. what a pain):


Time to rout the feature on the edge of the doors to match the edge of the drawer fronts. The blocks of wood are there to keep the router from tipping one way or 'tother on the narrow door stiles and rails. Which would make me very unhappy and cause bad words to be said.

Oops, almost forgot to stain what will be the inside of the cabinet top!

Felt the need to tape off the dadoes that hold the shelves prior to applying the finish. They are a tight fit in the first place, so I don't need any build-up, and am always unsure how the glue in the joint is going to react with any given finish. So tape it is.

First hint that the Hunter Green (satin finish) is going to go nicely with the Ipswich Pine stain, and a light color coat on the face frame looking for problems (weren't any).


Time to glue up the carcass, and install the face frame:


Time to install the beadboard backing. I started with a gun, but decided I didn't have the control I wanted, so switched to "old faithful".


The cabinet will be mounted to a wall using a "French" or "Museum" cleat. It's a system that is great for hanging heavy objects, and the cleat that affixes to the wall can be drilled to suit the wall's stud system. If you do it right, you can do chin-ups on that cleat. Then the cabinet, with its complementary cleat, just slides down over the one on the wall; the 45 degree angle cut into each one do all the work. It's an awesome way to hang cabinets. Sadly, my photos don't do the system justice. LOL, you'll just have to take my word for it.


Now it's time to lay out the holes for the screws that will attach the top and base to the cabinet.

It's important to drill pilot holes through the top or bottom and the carcass at the same time. The pilot holes in the carcass help prevent splitting.

Then I use a Forstner bit to counterbore the holes in the top and bottom to sink the screw head below the surface:


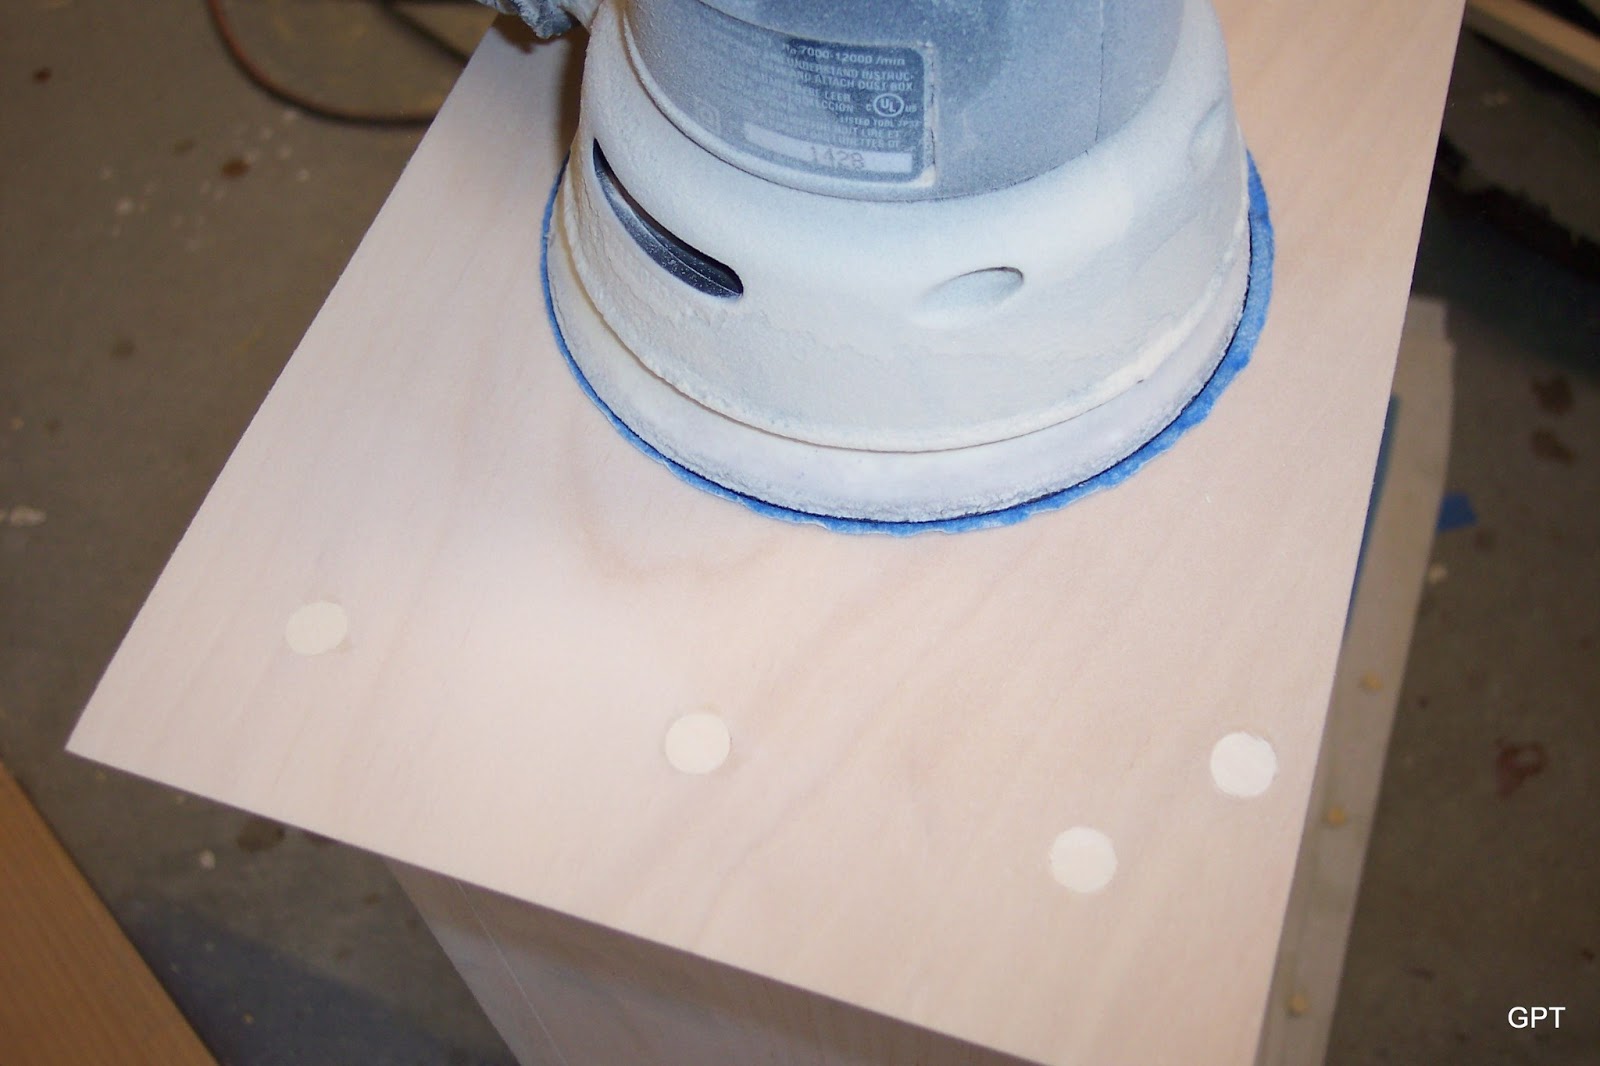
Now I cut plugs to fill the holes with, fill the holes with glue and then tap the plugs home with Grandpa's mallet:


After an overnight drying, a quick shot with my trusty (and, sadly, rusty...bad Gary) chisel knocks off most of the plug. Sanding brings it right flush with the surface.

Ugh. One of the hassles of this "painted exterior/stained interior" deal is keeping the paint from going where it is not wanted. Thank heavens for blue tape. I wish blue tape had been around in the 1970's when I was restoring Ferrari's and Rolls Royces! Life would have been much easier!

Primer time.


First color coat:

Final coat:


Tape off and almost done!

Oops, along the way somewhere I forgot to install some sort of drawer guides. Good thing I have very short screwdrivers!


Door hinges on (I love that self-centering drill bit! Don't leave home without it!!).

And finally, it's done. I was gonna show you how to install the cleat to the wall and hang the cabinet, but I'm tired of this project and need a beer. Hope you enjoyed the show. Oh, and since I have nowhere to hang it and no one will ever pay me what its worth to own it, I'm donating it to the Miramichi Salmon Association's Icebreaker auction (which I get to do) and dinner April 27th. Hope it does the salmon some good.


This blog post took longer to do than it took to build the cabinet! Now I gotta go clean the shop.
Oh, wait, that's right, its Miller Time.