A couple weeks ago I was trying to tidy up my tying bench a bit (an endeavor doomed to an epic fail) and found a pair of flies tied by my good friends and salmon camp pals Bob and Linda Warren. I think I could tell a Bob Warren-tied fly from across a room: neat, tidy, sparse, perfect small head. And a tented wing like no one else I know can create. Bob's simplified Balmoral, on a double (shows how long ago he tied it; hasn't tied doubles in years):
And Linda's fly, tied on a single (this low water version has been fished, if I recall correctly):
Looking at the fly under the microscope, so to speak, I couldn't identify the body material. Not floss, not yarn. Hmmmm. Call Bob. Turns out its Mohair, from the Angora goat:
I, er, borrowed that photo from this website, where, for the curious-natured among readers, you can find out more about these interesting creatures:
http://articles.extension.org/pages/19272/goat-breeds-angora
It also turns out that Bob has a BIG stash of washed angora mohair, and that he'd be happy to send me a batch to dye up and split with him in the right colors for the Glenlivet. Good deal! A few days later, it arrived. Since it had been commercially washed, I would have to spend far less time washing it. Mohair contains a
lot of Lanolin, which, if not removed, prevents the hair from taking the dye effectively. Part of the lot he sent me:
You can "tease out" single locks of the stuff:
Here's the process I used to dye the mohair. It is essentially the same process I use for all the feathers and hair I dye. I should mention that I did google "dyeing mohair". Interestingly, most of the sites with instructions of one type or another are "doll hair" sites. That was a neat surprise!
My first step, even though this was pre-washed material, was to wash it again with Synthrapol:
I'm fortunate to have a stainless steel sink in my shop; I do all my dyeing there. I am lucky to have that shop, from both a convenience and a self-preservation perspective. Trust me on this: DO NOT do your dyeing in the kitchen...unless you have: A. a death wish or B. like paying alimony. The sink with mohair being washed:
Over time, I've developed a collection of the dyes I use most commonly, uncharacteristically neatly stored in a drawer of the old medical cabinet I use as my dyeing platform:
Looking through my collection of dyed materials, I found two pieces of "white bear" that match the body sections of the Glenlivet perfectly. The two dyes:
It's important to use acid dyes in a stainless steel vessel, over a controllable heat source, with a thermometer that tells you the temperature of the dye bath. Here's my set-up, all obtained pretty cheaply via ebay (check out the stains on the formica countertop...think those would boost your popularity in the kitchen??):
I like to pre-dissolve the dye in small pan prior to adding it to the bath:
For the three inches or so of water I had in the large vessel, I figured a heaping teaspoon of dye would be plenty:
Here are two
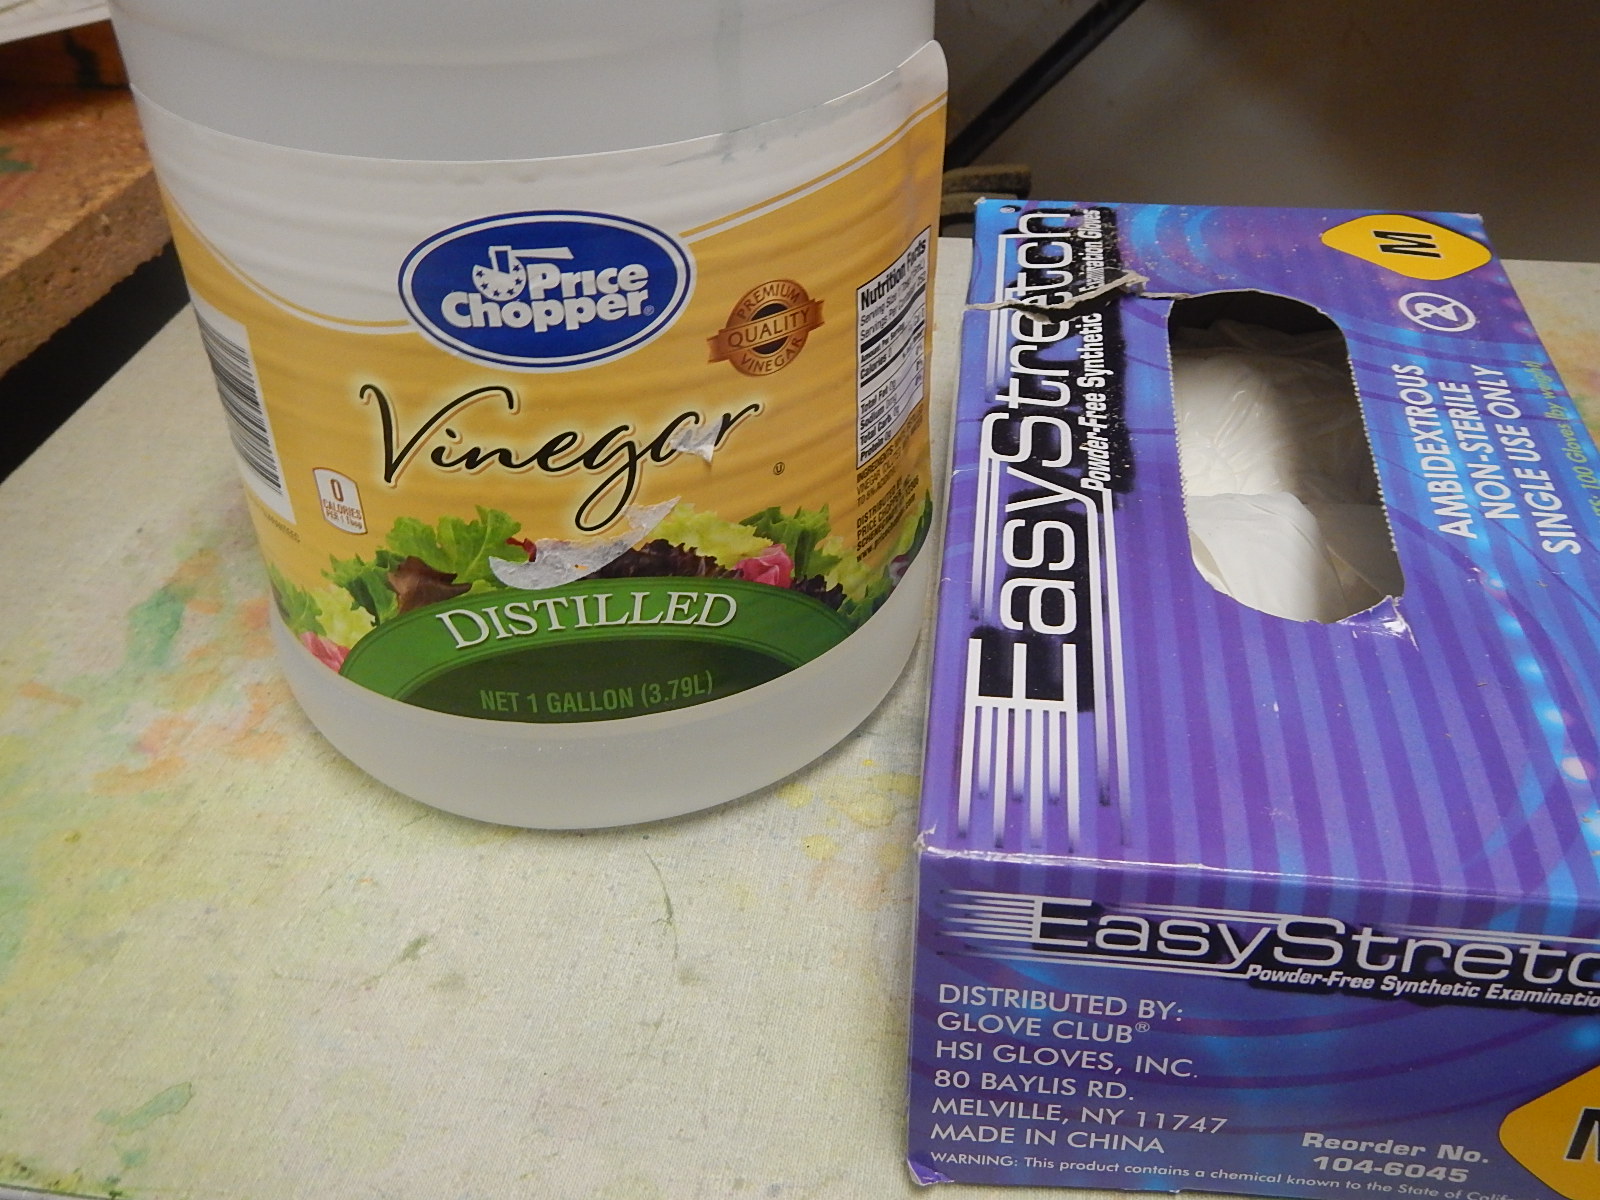
VERY important things to have on hand when using acid dyes:
You cannot "fix" an acid dye to the material at hand without white vinegar. And you'll be sorry (but very colorful) if you don't wear some brand of rubber gloves.
I typically bring the dye bath up to 175-185 (F) degrees to dye most of the feathers and hair I dye. Reading those doll sites I mentioned before, most of them said to dye mohair around 150 (F) degrees, so that's what I was shooting for (by the way, that is a long-stemmed candy thermometer that goes all the way to the bottom of the dye pot):
Mohair washed and ready for the bath:
And into the bath. This batch spent about 30 minutes in the bath before I felt it to be the right color. During its time in the bath, I poured a generous amount of vinegar into the bath. My experience tells me if I can smell the vinegar coming off the bath, I probably have enough in it. I always move the material to the side of the bath so I can add the vinegar to it without pouring it directly onto the material.
Once I've achieved the color I'm looking for, I remove it from the bath and place it directly into a warm water bath with a bit of Synthrapol in it:
I swish it around quite a bit in the Synthrapol bath, then hold it under the faucet, rinsing and wringing it until the water I'm wringing out runs clear, which means that what I'm holding in my hands is all material with fixed dye in it; nothing to run out later when a fly tied with it hits the water. The finished Kelly Green and Sapphire Blue batches ready to dry:
When I can't blow dry a material (like a piece of fur or an entire chicken cape) I use an old pillow case and our dryer. I just place the batch in the pillow, tie a not in the open end and chuck it in the dryer, medium heat for as long as it takes to dry. Worked very well in this instance, as well as when I've dyed up a batch of individual feathers (and no one is the wiser that I've been using the dryer for illicit purposes!):
After the two batches dried, I teased out a lock of each to tie a simplified Balmoral from:
Time to try tying the fly. It usually takes me 3 or 4 tries at a new fly before I'm happy with it. In the case of this fly, it's not a particularly good looking end product, and I know there are other ways to tie the same fly, but I wanted to bring a good, effective fly (and far prettier than most!) to a broader audience than it has heretofore been exposed.
This fly, like Bob's Cutty Sark, has a peach floss butt, which is a blend of flosses. Bob uses, as do I, the now essentially unavailable Gordon Griffith's floss. The blend is 4 parts orange floss, two parts yellow, and one part green. If you tried to blend pieces of this floss right off the spool, you'd have a rope on your hands. Fortunately, GG floss divides easily into two pieces:
Here are the split strands ready for blending:
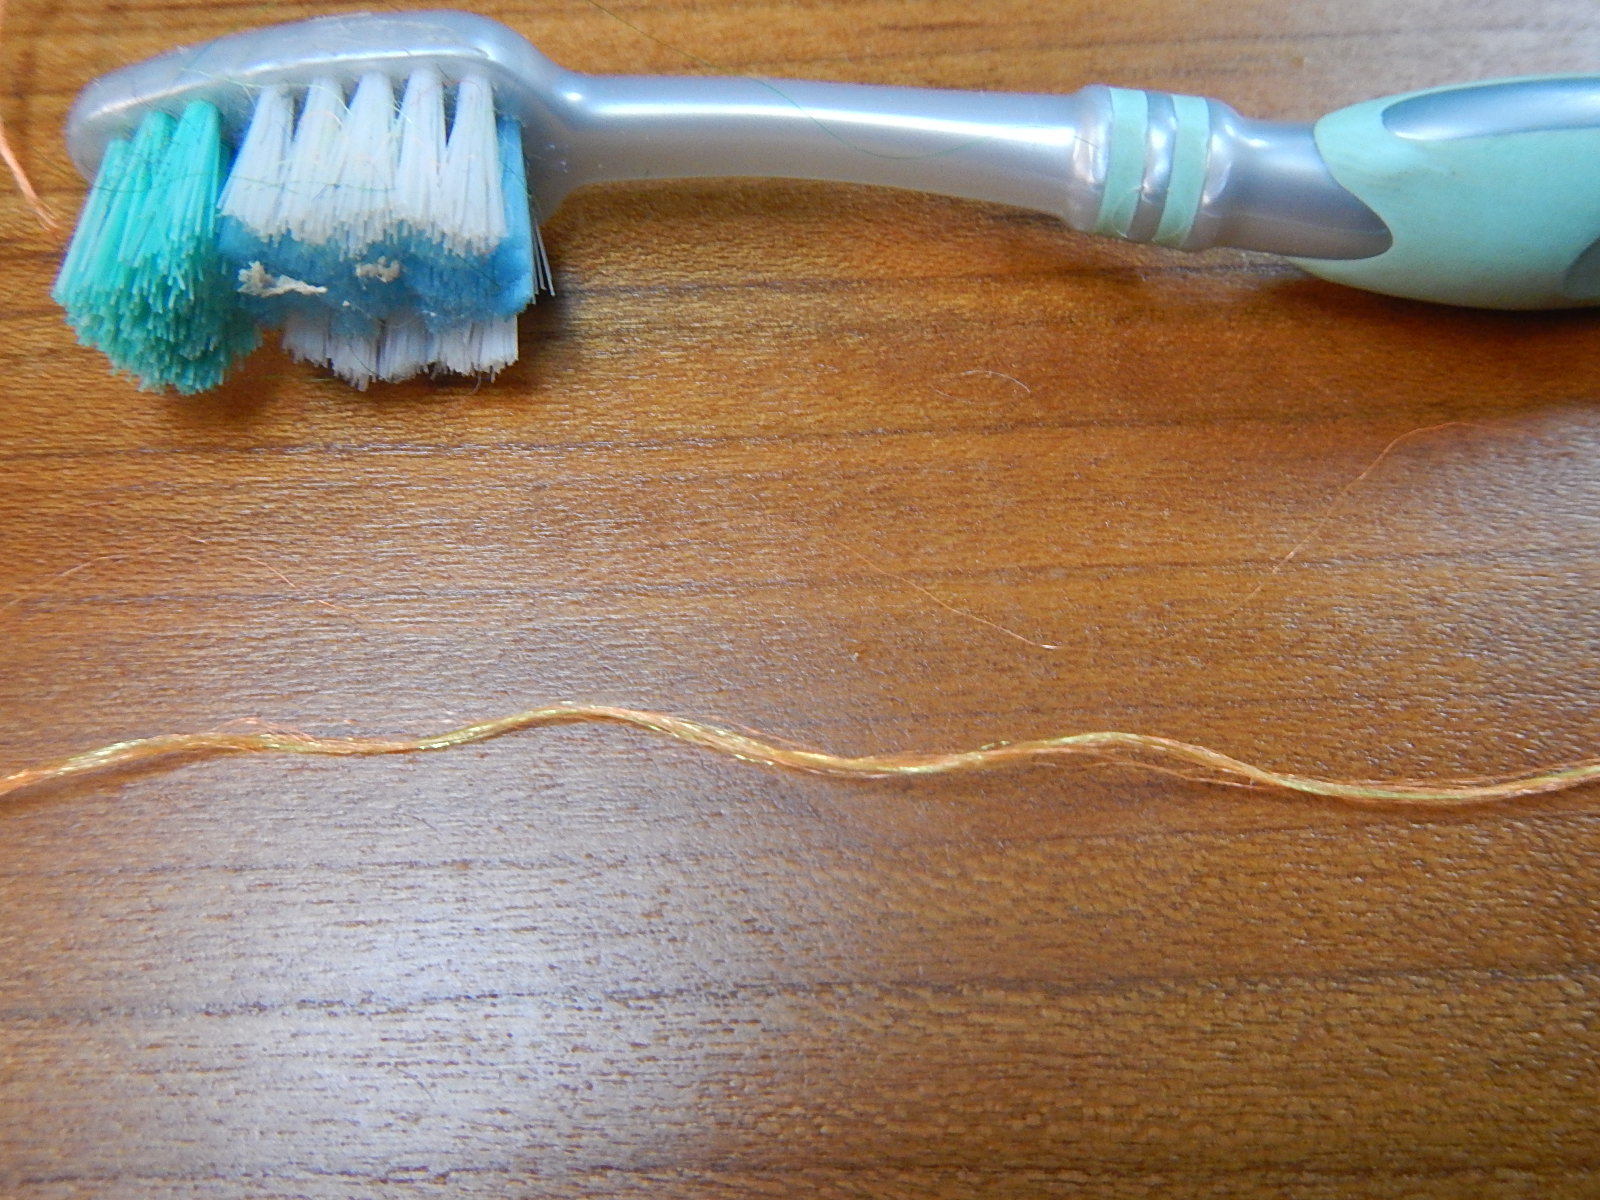
I use a soft toothbrush to stroke the strands together, blending them slowly, starting with two strands and then adding the next strand when the previous strands are blended together:
The finished peach floss:
And then I split that piece into three finer pieces for a less bulky butt (that sounds funny.)
Okay, NOW we can tie the fly:
1. I wrap the hook with white thread to give other materials something to hang on to:
2. Tie in the small, oval copper tinsel for the tag and rib:
3. I use 4 wraps of tinsel to build the first part of the tag:
4. Use the thread to move the tinsel forward to make room for second part of the tag,the peach floss:
5. Tie in the floss:
6. Wrap floss to complete the tag and tie in Golden Pheasant Crest tail (Note: I'm going to wish I had wrapped the materials to this point in a little closer to the head, smoother and more tapered at the head):
7. Time for the butt. Dub a tiny amount of black beaver dubbing onto your thread:
7. Wrap the butt:
8. Oops, forgot to show tying in the green mohair and wrapping it, but here's the blue:
9. Body finished (now you can see why I mentioned that I wish I had taken the "under materials" farther forward, and should have paid a little more attention to lumps under the body. But hey, I was tired from all that dyeing!!):
10. Wrap the ribbing:

11. Tie in a black hen hackle for the collar:
12. Wrap the collar (I made 4 wraps, shoulda used 3):
13. Tie in the wood duck flank feather for the tented wing (I like to put the feather shaft through the hook's eye; helps me keep things centered). Keep the feather folded as best you can as you draw it to its final length (even with the end of the tail):
14. Tie wing off, finish the head, start layering on the Cellire varnish, and you're good to go:
Is this a fly worth tying? Ask Linda Warren!
Cheers,
Gary