

When Mike Valla gave back to me the sixty-odd hairwings I tied for his latest book, Tying and Fishing Bucktails and Other Hairwings - Atlantic Salmon Flies to Steelhead Flies, I knew I wanted to donate them to the Miramichi Salmon Association's Boston fundraising dinner auction. But how to present them? To store the flies, I put some sheet Styrofoam down in a cigar box. For awhile, I thought that would be good enough to send to the auction. But then I thought, "How about in a nice Wheatley box?" The problem with that would be how one would keep the names straight (if one wanted to keep the group of flies together as a collection)? What to do?
As luck would have it, I was straightening up a few things in the basement (don't know what I was thinking there...Sisyphus had a better chance of rolling that boulder all the way to the top of the hill than I do of straightening out our basement!) I happened upon some old precut mat boards that Bridget had from years ago. They were 11"X14" with a 7.5"X9.5" cutout. Hmmmm. Took one to the shop, grabbed the flies, and started playing around with them. Looked like 25 hairwings would fit nicely in that opening, and 10 streamers fit well, too. That little light bulb in my head that usually glows so dimly started to brighten...here was the solution to my presentation problem!
Now, my hands shake too much to be able to print or write the way I used to, but I can use the Word program on my computer a little, so I started laying out a background from the alphabetical list of the flies:

Yup, that was going to work (notice that the flies are facing in a different direction than the final product. Don't know why, but every one that does this sort of thing seems to orient the fly so that the head is on the right. Maybe because, at least for right-handed tyers, that's usually the best side of the fly?

I decided I'd use the method where one uses wire from the back side of the backing, through a bead, around the fly and back through the backing. Found a couple youtube videos about how to do it. As an old museum director, I just couldn't make myself use the very non-reversible method involving glue, which effectively destroys the fly (to my mind). BUT that means having to punch a very straight set of holes through the backing mat.
Enter my drafting set from my 1968 Freshman Drafting class in my Automotive Technology college curriculum. Forty nine years young and still in service! First step: lay the paper on the drafting board and make sure it's parallel with the T-square:


I laid a row of hooks about the names on the left-most column, and with a sharp pencil marked where the eye and apex of the bend of the hook lay.


Measured the typical hook (almost all Gamakatsu T10-6H's):

Drew centerline's through each column of names, then went 5/8's" inch on each side of center line, and using the triangle, started a grid system (this is all on a plain sheet of copy paper).

Now, between using the T-square and the triangle, starting with just those first couple dots, I have a complete grid system that allows me to punch holes for the wire in exactly the same relation to each name as any other name.

Then I taped the plain paper with layout on it over the nice cardstock I want to use for the actual background, and using my trusty dissecting needle (AKA (nowadays) dubbing needle) I start punching holes through both sheets. Oh, did I mention that said needle came from Freshman Biology class when I started College all over again in 1978 in Natural Resources Conservation? Obviously, you should never through a good tool away.

The nice ivory-colored card stock all punched up and ready for flies:

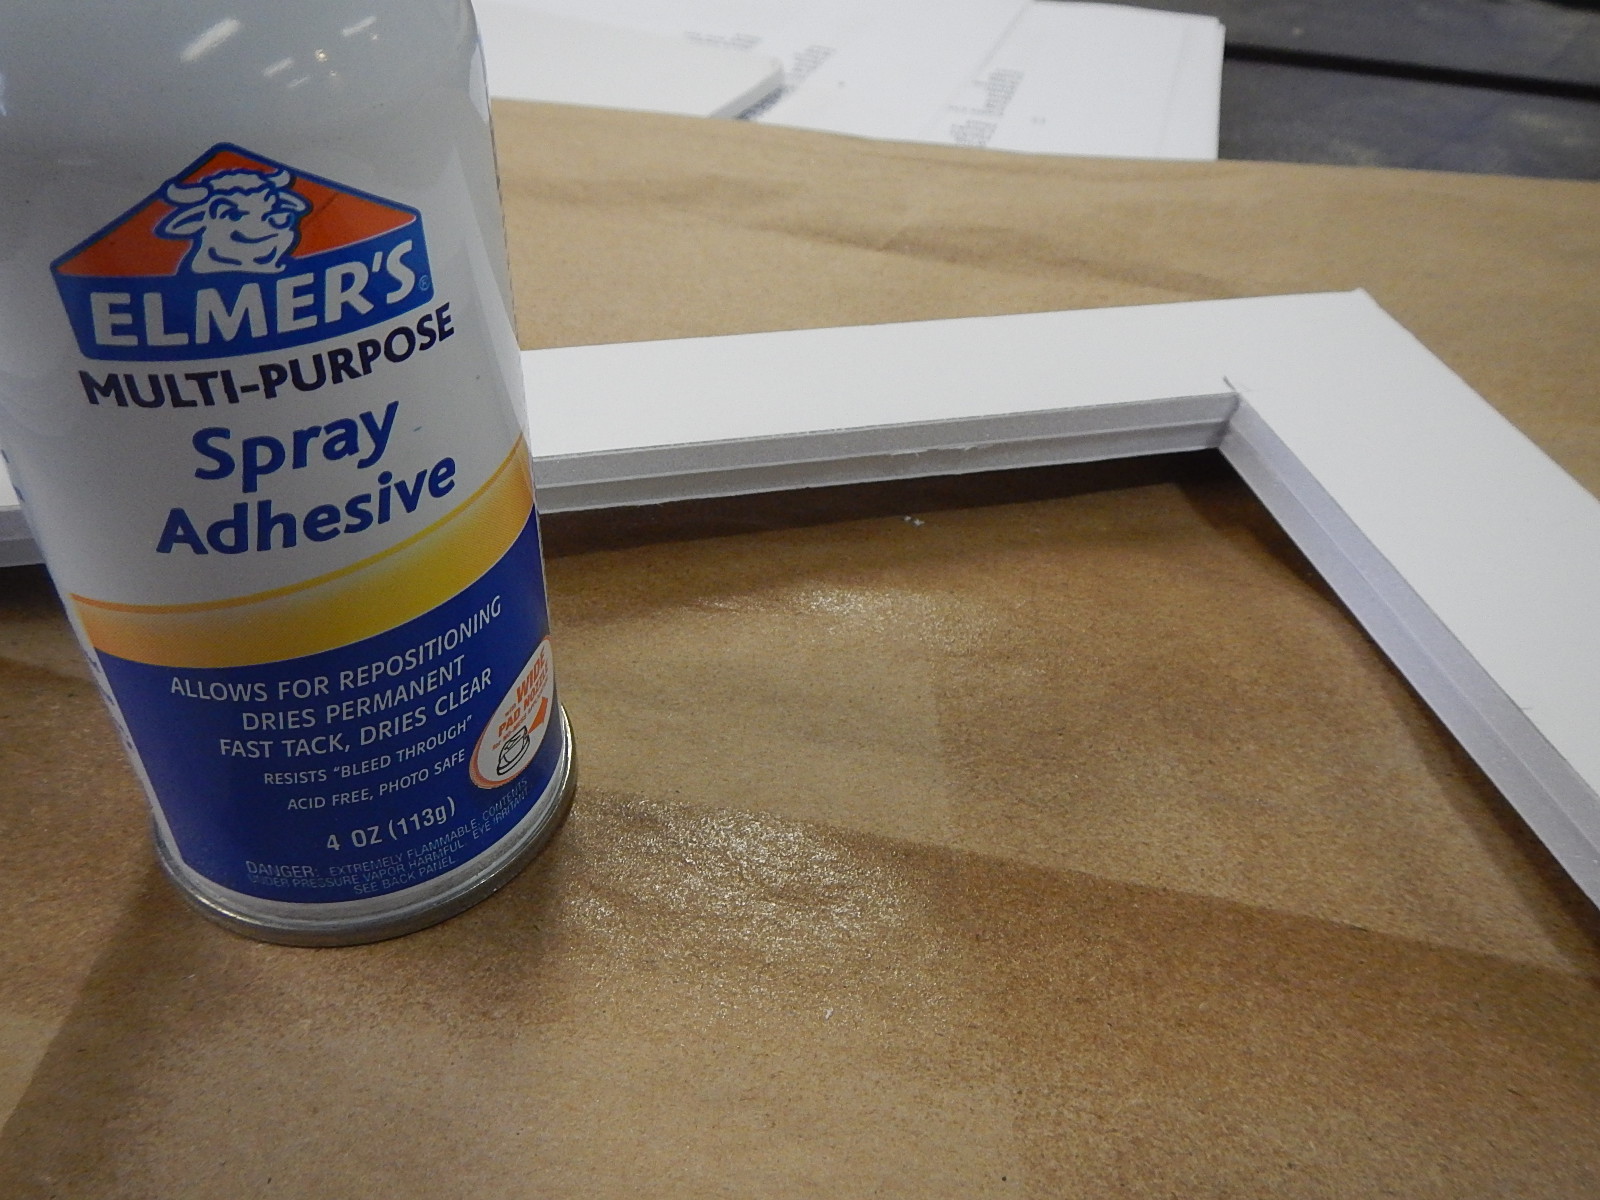
I used a spray adhesive to glue the cardstock to the acid-free mat board backing:

Really, the hardest part is over...no more thinking, just doing. Well, except for when we have to make the shadow box frames, of course. All we need are flies, glass beads (thank you, Wal-mart), and silver wire (size small is pictured. After one fly, I switched to medium. If you ever try this, you'll see why I switched to medium).

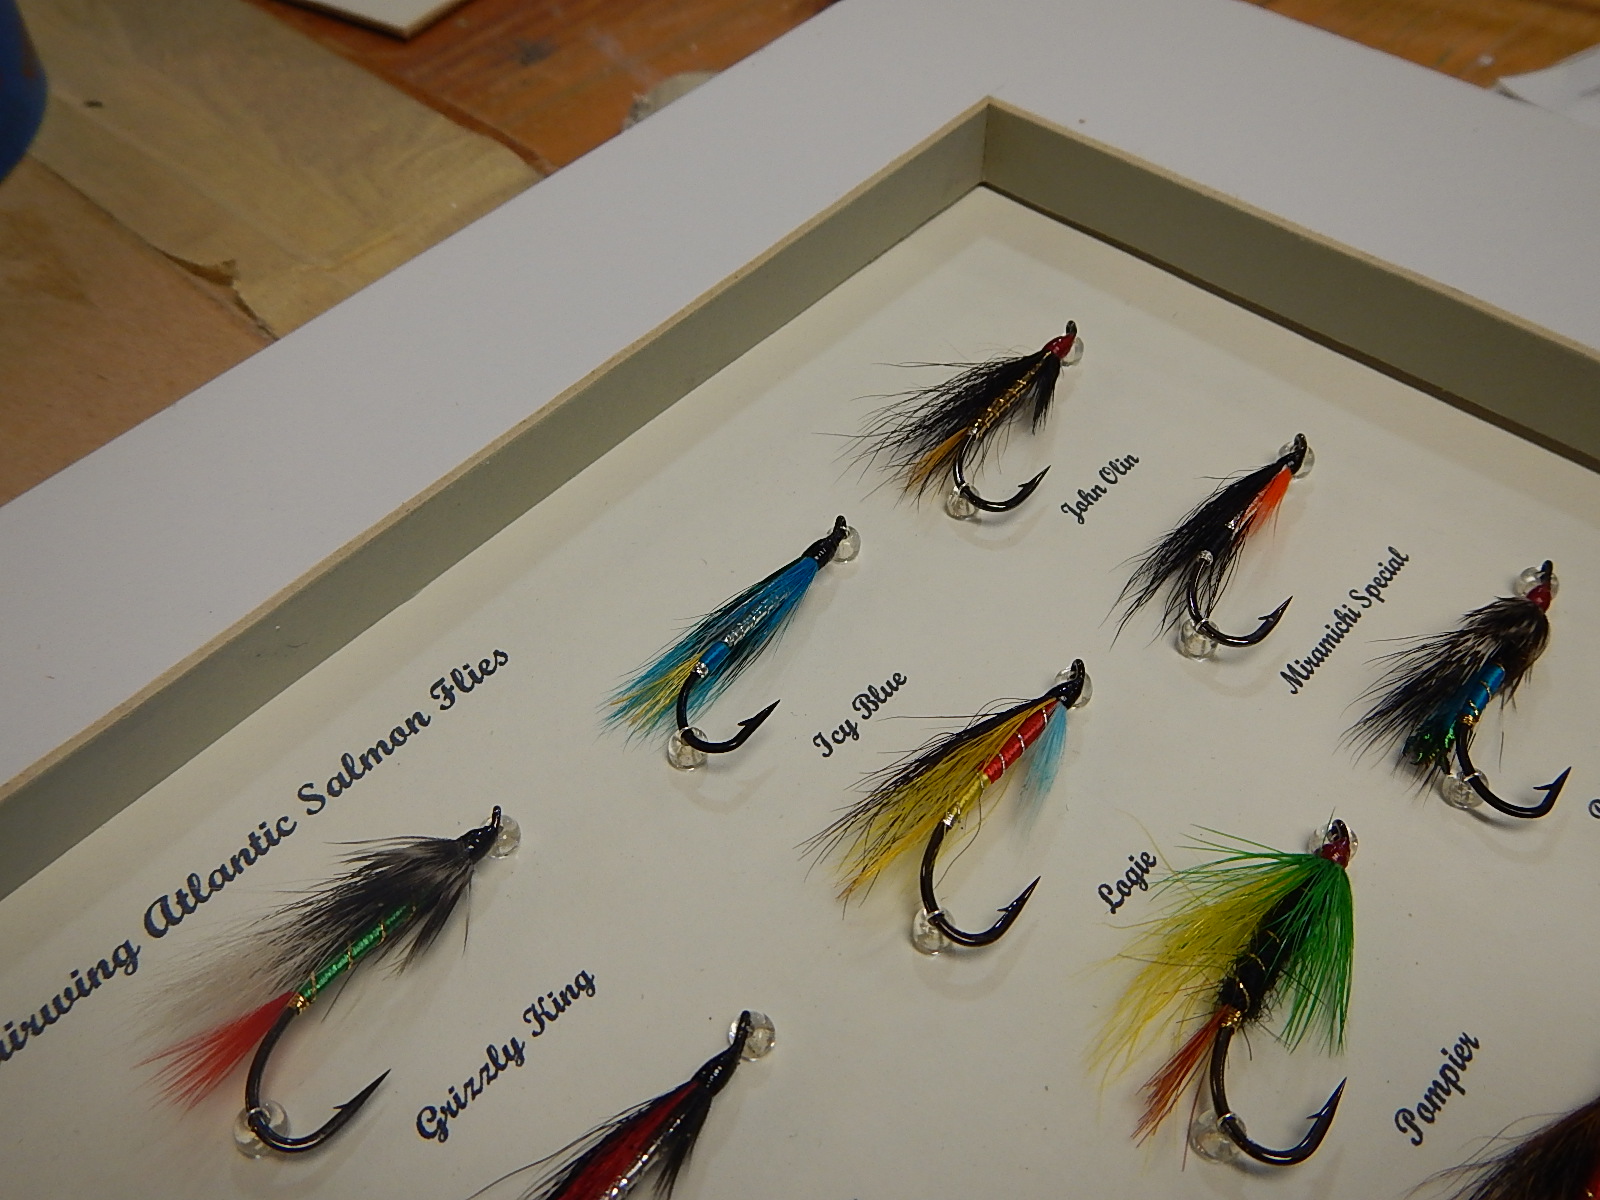
Pretty easy, really. Pass the wire through the bead, through the eye of the fly, back through the bead, pass both ends through the matting, and tape off. After two or three, it really goes quickly:


But wait, there's more! We need to make the thick "between mat" (I'm sure there's a word for that part that real framers use). So I went to the local art supply store - surprisingly, there actually is one in Bennington, Vermont - and found 1/4" acid free foamcore board.

Lay out and cut two 11"X14" pieces...

Lay the cutout mat we've been using over the foamcore and trace the opening:

Now we take our handy-dandy six inch by 1/2 inch steel ruler that we've also been lugging around for a thousand years and use it to enlarge the opening by 1/2 inch:

Now we take our big steel rule and razor knife to cut out two identical pieces of foamcore:

Note: I did all of these steps 4 times, since I'm making four framings. Well, three for my flies and one for someone else's (hopefully). Anyway, 1/4" doesn't get it for thickness; we need 1/2", so out comes the trusty spray glue and we have what we need, thickness-wise:
If you peer into a shadow box like this, you'd be able to see the foamcore. Can't have that, so we slice up some seafoam green mat board (to match the main outside mat) and cover the foamcore:


The foamcore that I cut out makes a good form to keep the strips in place while the glue drys. Have to trim it slightly to account for the thickness of the strips; a wedge or two helps where needed:

Nice and neat finish to this part of the
The time has come to put all this work away in a safe place...sawdust time. I had looked into store-bought shadow box frames...but none of them looked right to me...and I couldn't afford them anyway.
I did have an 8' length of 5/4"X6" pine left over from some project or other; looked like it would be perfect, and give me enough wood to make four frames after I cut the knots out. Must have clear wood for these frames! I ripped the piece into 1 3/8" strips. That width would allow me to run the strips through the joiner to remove saw marks and straighten them, and then to sand them to get to the 1 1/4" width I desired.
Strips cut:

Through the joiner:

Enough for the four frames after cutting out the knots:

Ganging up a set for almost final sanding. This ensures that they all stay the same dimension.

It's important to "ease" the edges. Sharp edges don't take paint or stain well, and they get bonked and look bad pretty easily.

First cut in making a piece of frame. Initally, I was going to do this in one pass through the router, but after I got that all set up and realized how close my fingers would be coming to a sharp object spinning at 15,000 rpm's, I opted for the more time consuming table saw method.

Second cut gives the final actual profile of the frame.

Ready for the miter saw!

I screw a board down at the correct length to ensure each piece is cut to exactly the same length. If you try and measure and cut each piece individually, you A. spend way too much time, and B. are probably going to have bad miter joints because the pieces aren't exactly the same length. I have to set this up twice, since the frames are rectangular.

Four sets ready for glue-up:

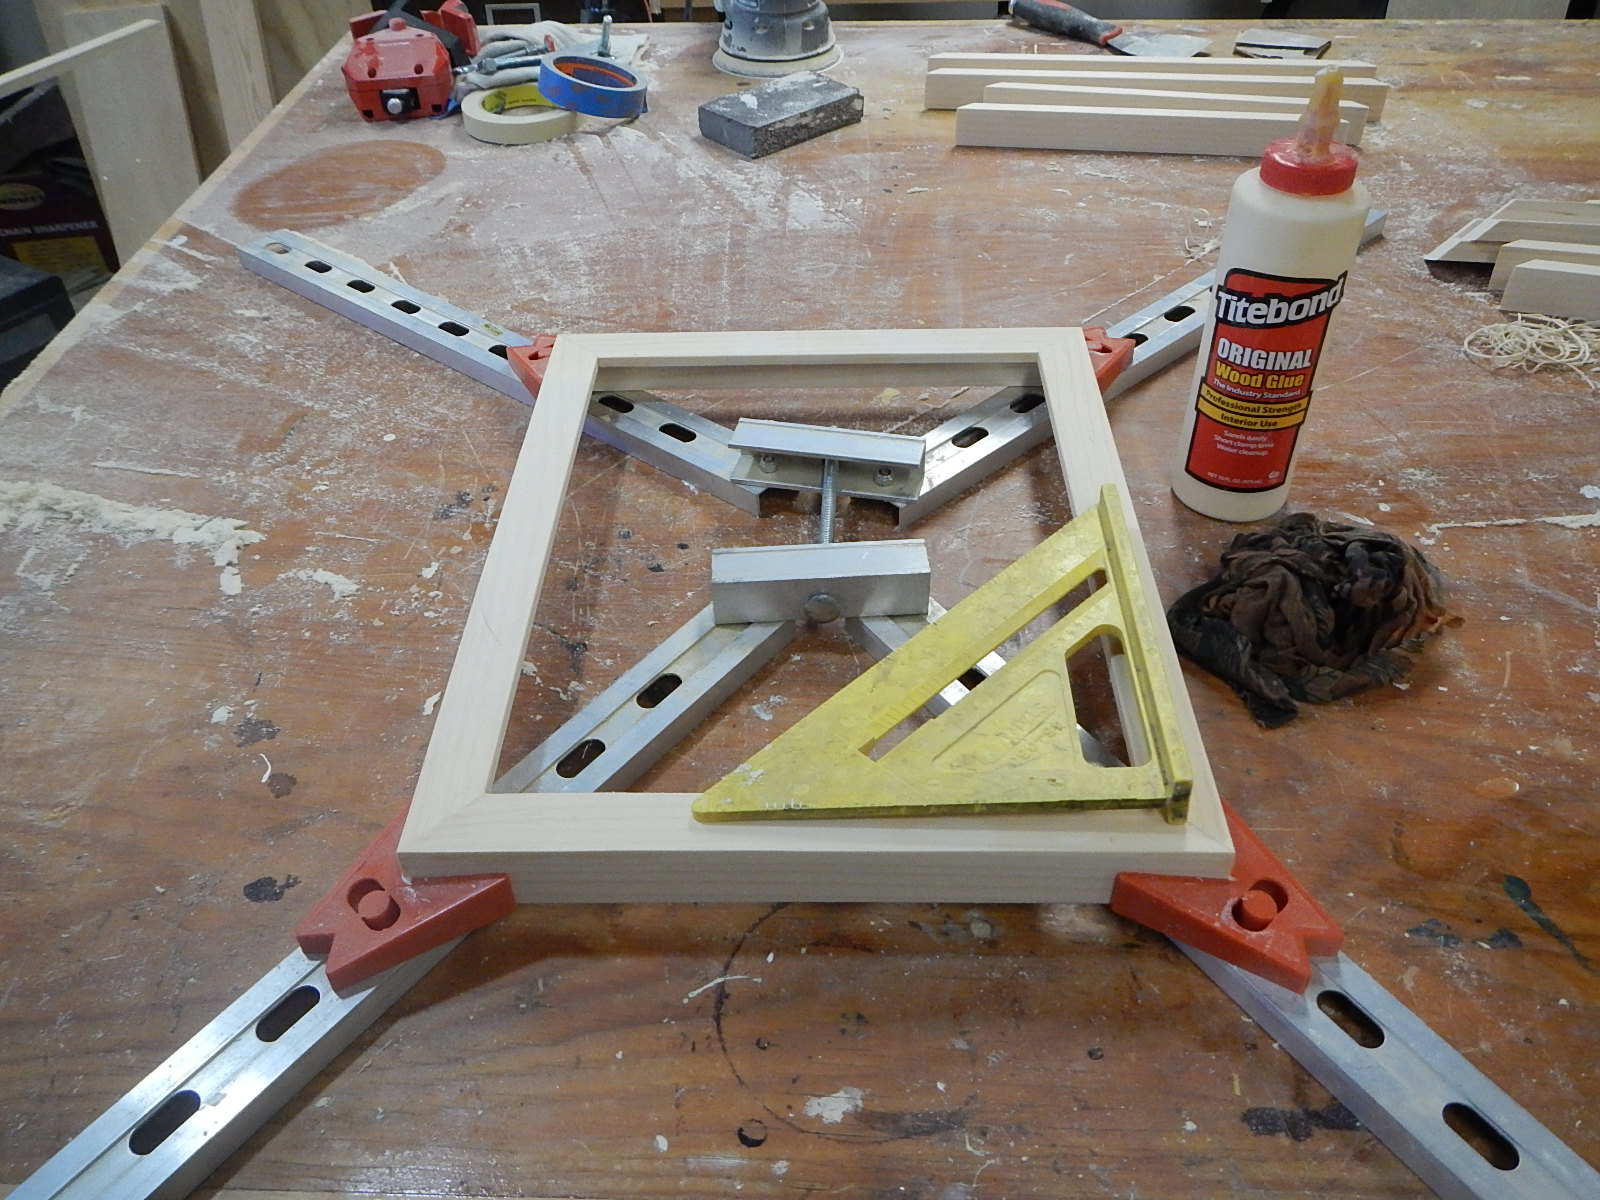
Gluing mitered corners can be a pain if you don't have a good clamping system. I bought one such clamp years ago, and could never make it work. For whatever reason, the day I was doing this I had an "I will not be defeated" attitude about the thing, and finally figured it out. Happy me! With good glue and a good fixture, there is no need for nails at the joints. I was using the little square to ensure that the frame really was square in the clamp
Pretty nice miter joints if I do say so myself. Which I do!

Now we have four frames ready for staining and clear finishing:

On to staining. If you're using Minwax products, its important to use their Pre-stain stuff when staining softwoods. Through the miracle of chemistry, it prevents the stain from blotching on that kind of wood. I'm using Minwax's English Chestnut stain; used it on other projects, and everyone seems to like it.

How do you stain an object like this, he asked himself while staring at it for what seemed like hours. Seeing all the cut-off pieces from the project, that dim bulb once again blazed to brightness: a fixture, made from scrapes, that would hold the back of the frame (which I stain first, then let dry) off the table and allow me to get the tops and sides without holding on to it:


Put a box under the fixture, and it's ready to be sprayed with the final satin clear coat:

Add glass, set in the mat set, place a final matboard backing, secure with push points, and Voila!, the framings are finished.


That was quite a project; I'm pleased with the end results. There are certainly many ways to make a shadow box framing. This is probably the redneck way! Now I just hope that at least two other folks are, too....takes two to make an auction, doncha know.
Cheers,
Gary