

My good friend Jamie was down in my cave recently and said he'd like one just like it, so, since I can actually move around again pain-free (thank you new hip!) it was time to see if my saws still worked after 15 months of inactivity (read: no income). So off to The Big Box Lumber yard I went (I know, I know, but it was Sunday and the good lumber yard was closed and I wanted to get started!)
I thought it would be fun to document the building process. All Jamie's 18-rod rack requires in the way of lumber is four 1"X5"X8' premium white pine boards:

I suppose a person could use plywood for the top and bottom of the rack, but I prefer to glue up my own wide board. I get pretty obsessive about matching up grain patterns so that its pretty tough to tell it isn't just one big board. I take the long boards and slide them around to make matches, or cut a long board to see if it will match up with itself:

Once I get the matches figured out, I cut to approximate final size. I cut maybe 4 inches longer than I need to account for possible sniping (a funny thing that happens sometimes to boards being run through a joiner) on the ends of the boards. I usually use my radial arm saw:

Things look pretty good for creating a nice wide board:

To get perfect edges with no gaps for the glue-up, I run the boards through my joiner:

Makes for nice, tight, no-gap edge. I like to use a plate (or bisquit) joiner to strengthen the bond between individual pieces of wood. The bisquits also help with alignment during the glue-up process. Here I've got the locations marked for the bisquits:


Here's what a bisquit looks like:

Bisquits and glue, ready to go:

All clamped up for about 24 hours:

Attention to grain lines makes for a nice board:

Out of the clamps and getting a first coarse sanding (I love that Bosch sander, it is a hog!):

Nice!

Back to the table saw to rip material for the legs and trim:

The legs are made kind of like corner boards on a house...but you can see both sides of these legs, and the inside corner is a bear to sand, so it pays to be careful and wipe up and squeezed-out glue very carefully:

Legs, trim and top and bottom in the rough:

Time to layout the 18 holes on the top and bottom:

Over to the drill press to cut out a total of thirty six 2.5" holes (oh, so boring, all puns intended):

Then the router comes out to chamfer each hole with a 1/8" roundover bit:


Chamfered and not:

Time to pick out a stain. I gave Jamie 4 choices from my Bag O' Stained wood:

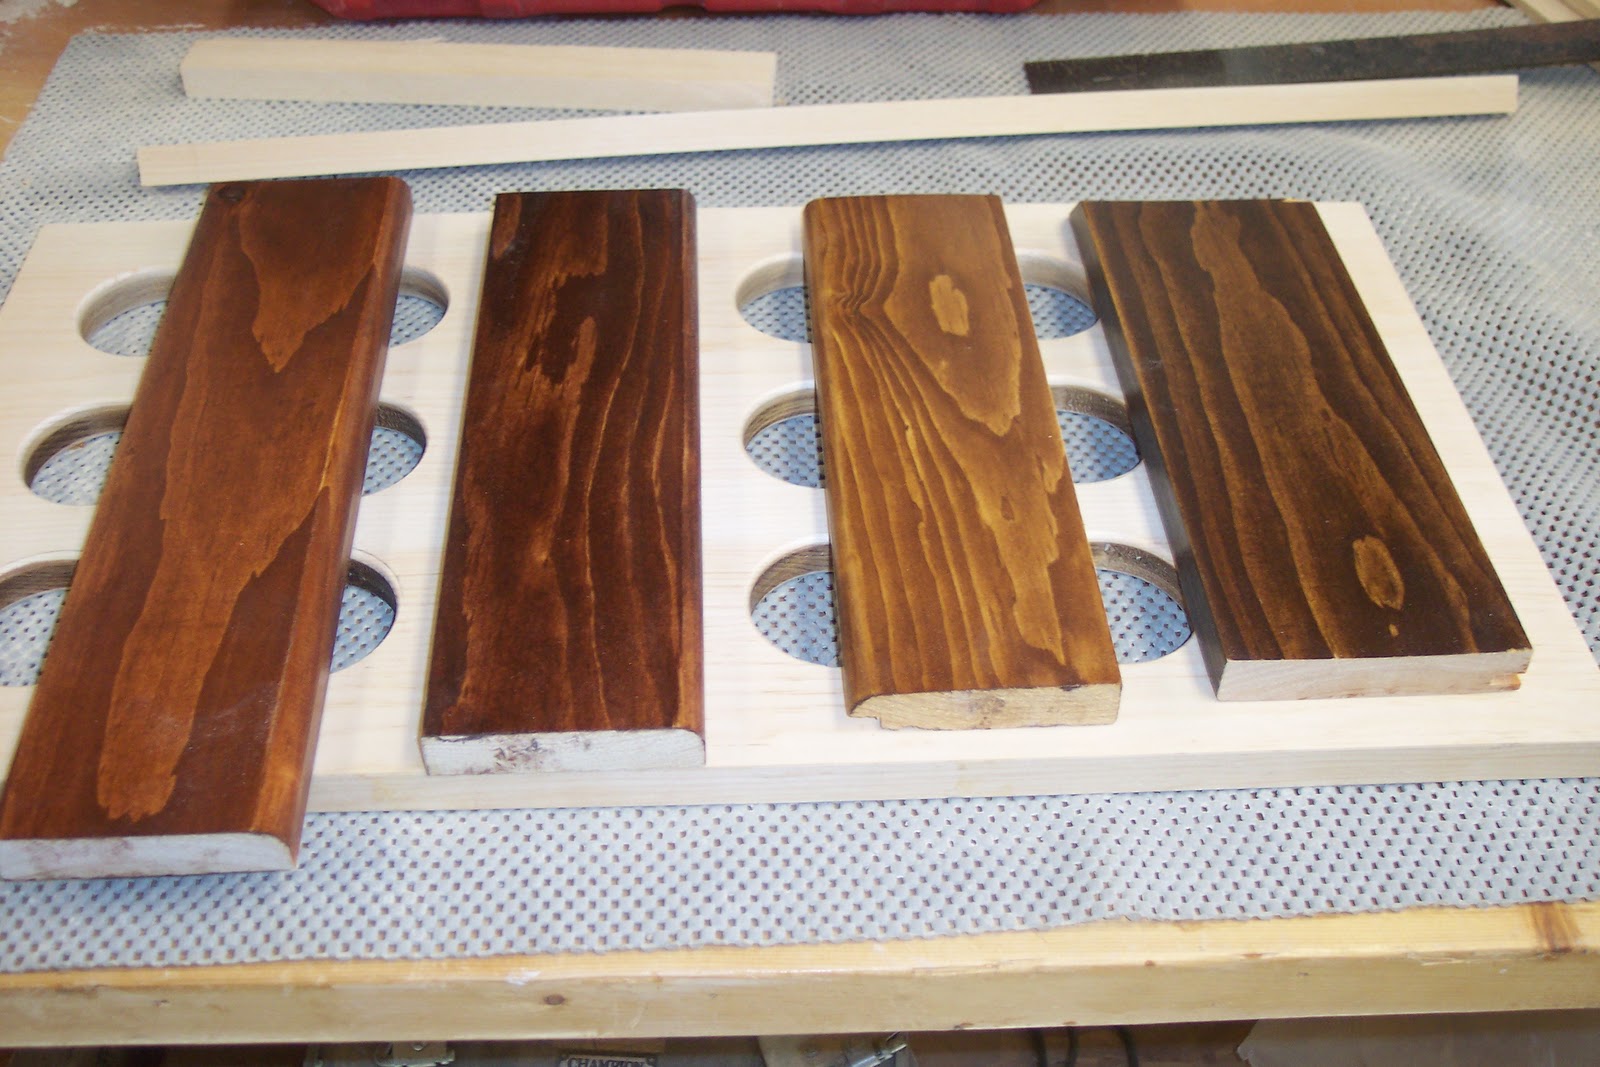
He picked Min-Wax's English Chestnut. A good choice on pine.
Back to woodworking. Time to install the trim on the top and bottom. I get to use my favorite tool for this, my nice big 12" Milwaukee Sliding Compound Mitre Saw (this is starting to sound like one of those outdoor writer's testimonial tales of a fishing trip, naming names of every single piece of equipment. Hey, Milwaukee, you listening??):

It makes mitering a breeze. Here's the top ready for trim installation and clamping:

And glued up:

I am the worst when it comes to cleaning up every night. After just three days, the place is a disaster area:

So after a little policing of the area, all the pieces of the rod rack are completely sanded (I start with 100 grit, then 150, and I final-sand with 220) and ready for stain:

So I don the rubber gloves, grab a staining pad, and get it on:

All stained and ready for top coats:

I have been using Chem-Pak's Gun Sav'r Hunter Satin Gunstock finish on my projects for years. I love this stuff (ok, ok, another testimonial. Bear with me. And Chem-Pak, are YOU listening, LOL). It lays on beautifully, and dries within a couple hours. It sands like a dream, and the final coat is tough and beautiful. They have a gloss finish, too, but I've never used it. The satin finish is just so warm and nice.

After one coat (oops, should have used the tack rag a little more, lots of dust to be sanded out):

I apply a total of three coats, sanding the first two coats with 220 grit sandpaper:

Three coats complete and the rack is ready for assembly:

I rabbeted the tops of the legs so that they would sit on the base correctly:

The legs get screwed to the top from the inside; the screws don't show (it pays to pre-drill everything):

Installing the base:

There's a stained board that goes on the underside of the base that I forgot to get a photo of. Darn.
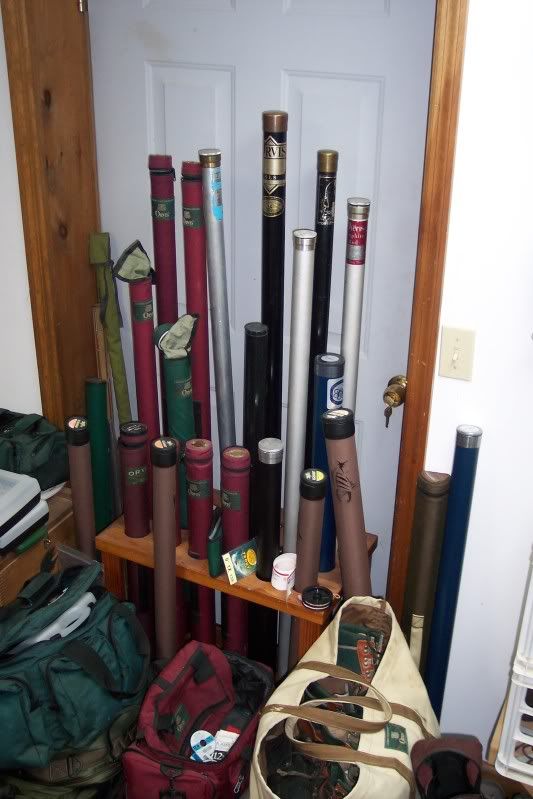
Anyway, all dressed up and ready for its spot at Jamie's house. Now, wasn't that easy??

Great job Gary!(:
ReplyDeleteJP
Gary, I am impressed again~~ but by no means surprised! What a beautiful Rod Rack, I`m sure Jamie is thrilled! You are such a talented guy. . . .carpenter, flytier, and topnotch scotch consumer(the order of these may vary from time to time)!
ReplyDeleteI`m sure there are people out there who have jobs which you can easily handle~ now that you are able to work again. Hoping to see you end of April!
RB
Awesome Gary. I love lookig at stuff like that.
ReplyDeleteKyper.
Thanks! It was fun to build, and almost as much fun to do the step by step. Scotch consumer you say, RB...well, I guess I better raise a glass to another job done!
ReplyDeleteNice work!
ReplyDeleteScotch! really...yikes - I'm forwarding this to my mom so she can show my dad - he will be pleased to know you think he helped you...so come back home and build me a new kitchen!! hahahahahahaha
ReplyDeleteJust beautiful. Would you consider building one to sell? What would you charge? It's just so dang nice
ReplyDeleteNativetrout
classic rod forum
I can build them for about $200 in pine. As you can see from the blog, there's a lot of hours and time in one. There's really nothing I'd change after building two of them...I tend to sit on a design of a project before I act on it to make sure its going to be right when complete. Thanks for the kind words!
ReplyDeleteGary
That looks a whole lot better than the "pile of pipe scraps" I currently live with. Nice job.
ReplyDeleteVery impressive and beautimous.....Frederic Hewes
ReplyDeleteGary - are you making these to sell?
ReplyDeleteYes, I do make these and other fly fishing storage items for sale.
ReplyDeleteShould we take this offline for discussion?
ReplyDeleteGary, I'm making some new trim to match the original trim in an old farmhouse. What we've done in the past is apply two coats of red mahogany and 3 coats of amber shelac.
ReplyDeleteI'd like two get away from using the shelac because it hasn't been holding up too well, and I noticed the 2 left-most pieces of wood from your bag o' stained wood are awfully close.
Could you tell me what stains were used on the 2 pieces of wood on the left?
Thanks,
Keith
Left most is Minwax English Chestnut (I use it a lot of pieces I make for folks; very popular) second to the left is Minwax red mahogany. As a finish, I often use minwax poly satin finish. Hope this helps.
ReplyDeleteThat does help. Thanks so much for the response.
ReplyDeleteGary,
ReplyDeleteI just ran across this post. Your work is awesome. Could you email me and let me know if you are still selling these rod racks and if so, how much they cost?
Thanks
LOL, I would email you if I knew who you are!!
DeleteSent you an email, Mike, regarding building you a rack. Thanks for your interest.
ReplyDeleteGary